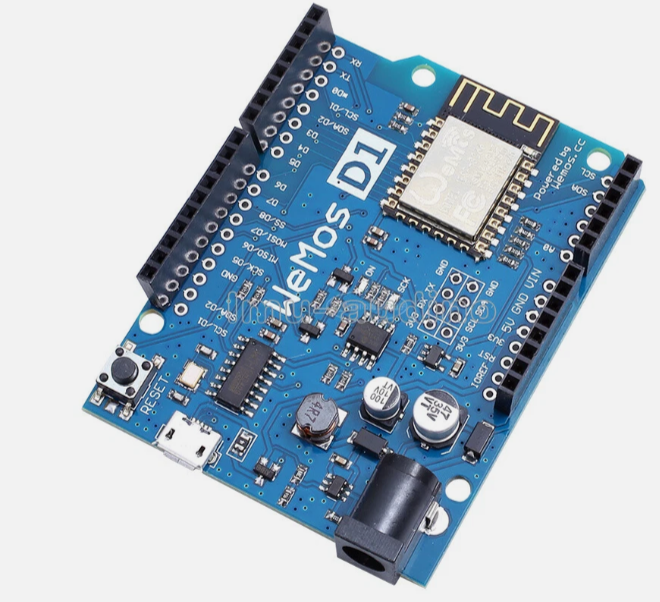
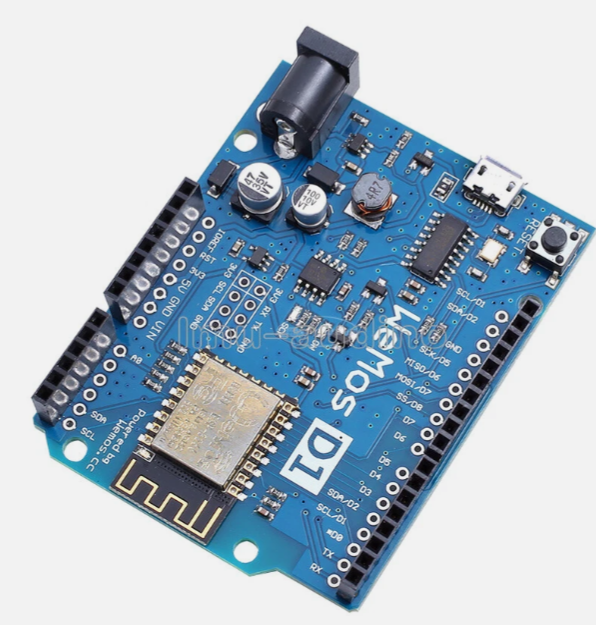
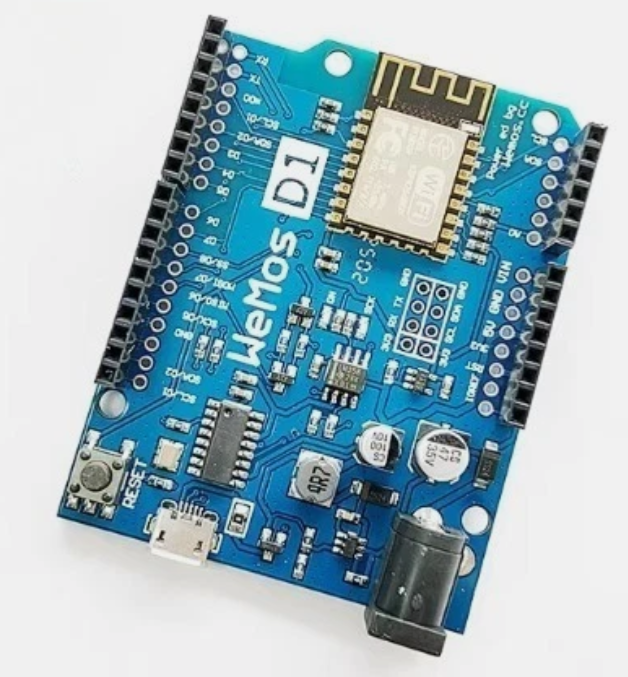
WEMOS D1 Mini ESP8266 Development Board
Compact WiFi-Enabled IoT Module for Arduino Projects
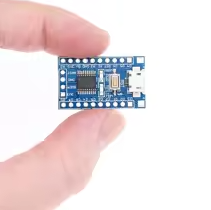
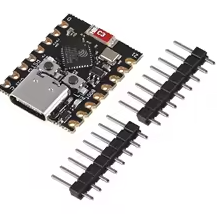
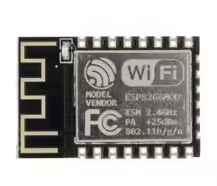
The WEMOS D1 Mini is a compact development board built around the ESP8266EX chip, offering integrated WiFi connectivity in a small form factor. It is Arduinocompatible, making it ideal for budget IoT projects and wireless sensor networks [citation:1][citation:2].
ArduinoCompatible WiFi Module 4MB flash, 80/160MHz CPU, and USB programming [citation:2][citation:4]
Compact Form Factor 34.2mm x 25.6mm, stackable shield ecosystem, and breadboardfriendly [citation:2][citation:6]
Supply voltage is 5V via MicroUSB (V4.0: USBC) or 5V pin; I/O pins operate at 3.3V logic [citation:1][citation:6]
For Arduino IDE, select "LOLIN(WEMOS) D1 R2 & mini" board and install CH340 driver [citation:1][citation:11]
GPIO pins are not 5V tolerant - use level shifters for 5V devices [citation:2][citation:11]
Technical Specifications
| Parameter | Value |
|---|
| Microcontroller | ESP8266EX (Tensilica L106) [citation:2][citation:4] |
| Clock Speed | 80MHz / 160MHz [citation:2][citation:6] |
| Flash Memory | 4MB [citation:2][citation:4] |
| SRAM | ~80KB [citation:2][citation:10] |
| Wi-Fi | 802.11 b/g/n (2.4GHz) [citation:2][citation:4] |
| Digital I/O | 11 pins (3.3V logic) [citation:4][citation:6] |
| Analog Input | 1 pin (0-3.2V max) [citation:4][citation:6] |
| USB Connector | MicroUSB (V4.0: USBC) [citation:1][citation:6] |
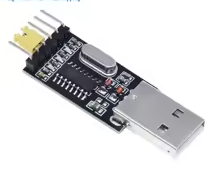
| USBtoSerial | CH340 (CP2104 on Pro version) [citation:9][citation:11] |
| Dimensions | 34.2mm x 25.6mm [citation:2][citation:6] |
= Pin Configuration [citation:1][citation:7] =
| Pin | Function | ESP8266 Pin | Arduino IDE |
|---|
| D0 | IO | GPIO16 | 16 |
| D1 | IO, SCL | GPIO5 | 5 |
| D2 | IO, SDA | GPIO4 | 4 |
| D3 | IO, 10k Pull-up | GPIO0 | 0 |
| D4 | IO, Built-in LED | GPIO2 | 2 |
| D5 | IO, SCK | GPIO14 | 14 |
| D6 | IO, MISO | GPIO12 | 12 |
| D7 | IO, MOSI | GPIO13 | 13 |
| D8 | IO, 10k Pull-down | GPIO15 | 15 |
| A0 | Analog Input (0-3.2V) | ADC | A0 |
| TX/RX | Serial UART | GPIO1/GPIO3 | 1/3 |
| 5V | 5V Power Input | - | - |
| 3V3 | 3.3V Output | - | - |
> All GPIO pins support interrupt, PWM, I2C, and One-Wire, except D0 [citation:1][citation:7]
Use D4/GPIO2 for built-in LED (active LOW) [citation:1][citation:7]
D3/GPIO0 must be HIGH at boot; D8/GPIO15 must be LOW at boot [citation:1][citation:7]
Key Features
Integrated WiFi Builtin 2.4GHz 802.11 b/g/n with TCP/IP stack [citation:2][citation:4]
USB Programming CH340 USBto-serial simplifies firmware uploads [citation:1][citation:11]
Stackable Shields - Extensive ecosystem of compatible shields [citation:2][citation:5]
Multiple Firmware - Supports Arduino IDE, MicroPython, and NodeMCU [citation:1][citation:6]
Builtin LED User-controlled on D4/GPIO2 [citation:1][citation:7]
= Applications =
- IoT sensors and smart home automation [citation:2]
- Wi-Fi remote control and monitoring [citation:2]
- Environmental data logging [citation:2]
- Weather stations and agricultural monitors [citation:8]
- Wi-Fi connected robotics projects [citation:8]
Mature Platform - Extensive community support and libraries
Affordable Entry Lowcost solution for basic IoT projects
√ Compatible with Arduino IDE, ESP-IDF, and MicroPython [citation:5][citation:6]
√ USB port for power and programming
√ Available with MicroUSB (V3) or USBC (V4) [citation:6]
Getting Started
- Install CH340/CP2104 USB driver if needed [citation:1][citation:11]
- In Arduino IDE, go to Preferences and add the ESP8266 board URL
- Install ESP8266 board package via Boards Manager
- Select board: "LOLIN(WEMOS) D1 R2 & mini"
- Upload sketch via USB [citation:10]
Use a data-capable USB cable for reliable programming
For Windows, install CH340 driver from the manufacturer
Avoid powering high-current peripherals from the 3.3V pin
USB port voltage is 5V - ensure external power matches
Troubleshooting
Board not detected:
- Use a datacapable USB cable (not chargeonly)
- Install CH340/CP2104 USB driver [citation:1][citation:11]
- Try a different USB port
Upload fails:
- Check correct board selection in Arduino IDE
- Verify port selection matches connected device
- Put board into bootloader mode by holding FLASH button during upload
Wi-Fi connection issues:
- Use 2.4GHz network only (5GHz not supported)
- Verify SSID and password
- Check signal strength and range